So I decided to go to the salvage yard the other day to pick up some more hard wood floors to work on the landing on the 2nd floor. While just browsing through I fell in love with some beautiful raised panel wainscotting. I have been looking for this stuff for a long time, but have been unable to locate. It seems to be bought up quickly so to my surprise I found 2 stunning sections. They came out of an old church and on the bottom was scrolled "New Prague" which I found amusing since I love Prague so much.
Here they are when I got them:
So after cutting down to size and putting on the wall leveled here is how it looked:
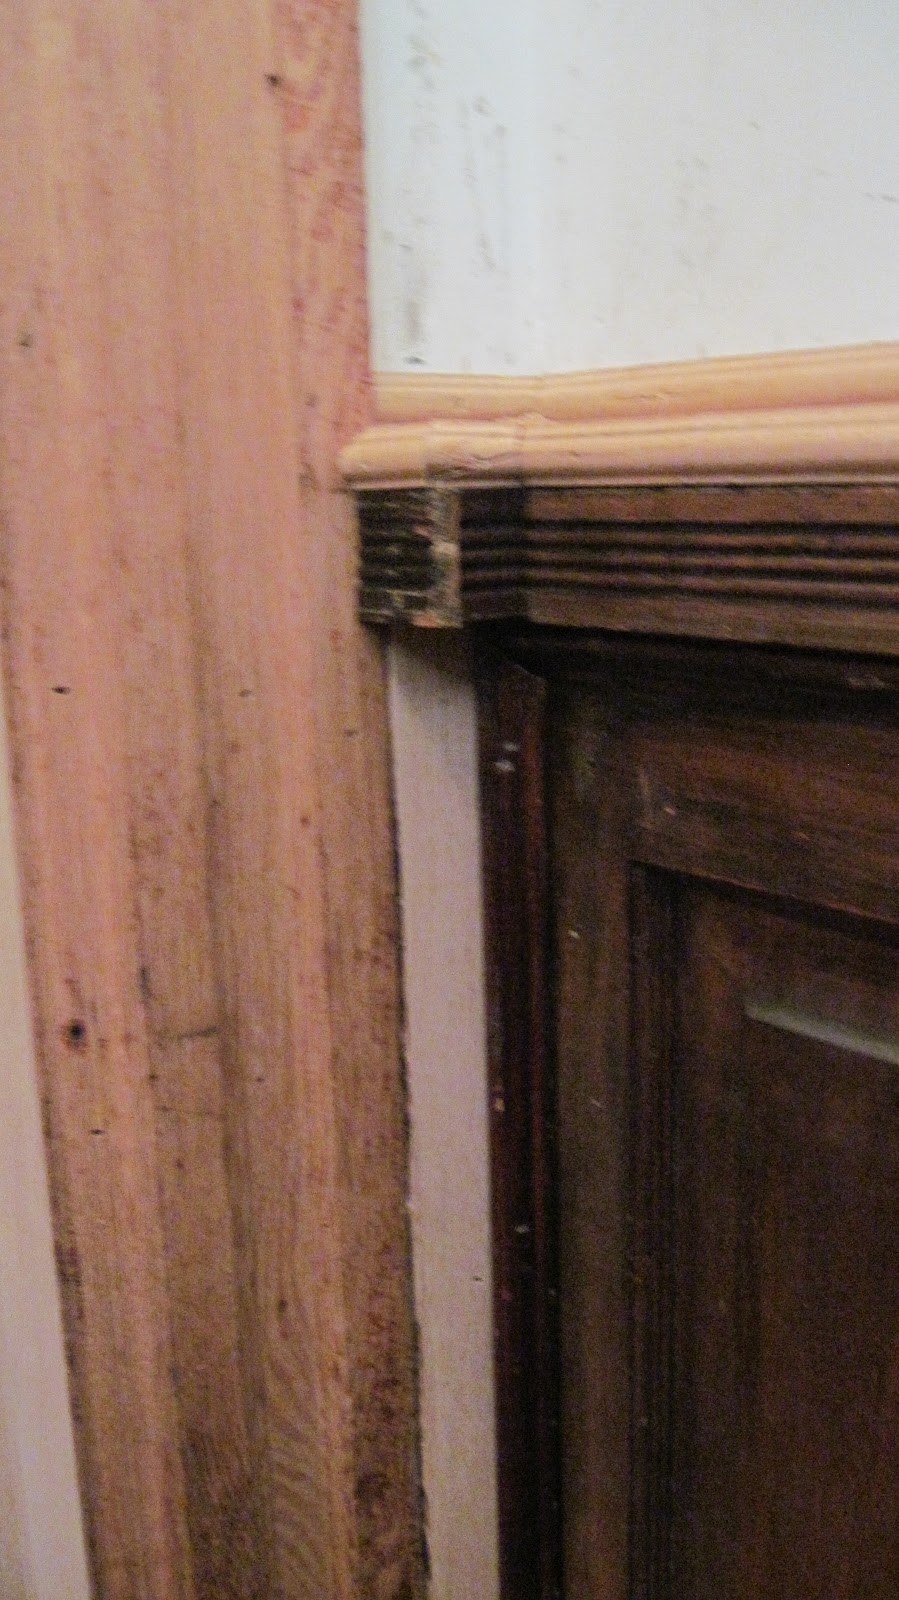
Next I put the trim around the doors and then had to custom cut oak pieces to fit in the small space between the door trim and the wainscotting. This wasn't easy but when all stained up will all look as if it's been there forever. I next put the top trim items on.
Tonight I will finish up by putting a new oak piece on top and doing just a little more trim. So while it wasn't the easiest project it wasn't that hard either. I love how one can just buy some salvage items and with a little love and effort put them into somewhere that will love them forever. I guess I'm not such a bad carpenter after all.
Here is the finished result with the top cap built and trimmed out.:
If you like what you read and want to see this blog and projects keep going PLEASE feel free to donate something, even if it's only a little bit. Every little bit helps on this restoration project. Thanks again!


No comments:
Post a Comment